We finished installing kitchen cabinets. It took Anthony and me just over a week, working well shy of full days. Not bad.
We’ve installed cabinets before in two houses and three spaces. It’s actually a lot of fun, in the same way walking barefoot across a wilderness beach covered in sharp pebbles is fun. You know what I mean. It’s great to be doing it, it’s great to be where you want to be and to see something lovely; but also there is pain.
Ninety percent of kitchen cabinet installation involves planning and layout, as far as I’m concerned. Here are the main issues I had to contend with as I planned out how to install the cabinets:
- Everything has to be level and plumb and square and also you want straight lines. But the space filled by the kitchen includes old house and new addition and a former exterior wall, so nothing is straight, level, plumb or square.
- Appliances have tight tolerances. Spaces between cabinets have to be precise. It induces anxiety.
- Subfloor adjustments. Our slide-in range has a weird and tight tolerance for how high the countertop can be.
- Cluelessness. Just a general problem between my ears that follows me everywhere.
But none of these issues are insurmountable. I made drawings, I took measurements. I read installation guides for the appliances, I read books and watched videos. I conferred with Anthony.
Then one morning I started setting things up, and over the course of days it went something like this (with many, many painstaking details left out):
- Take all the drawers and doors off the cabinets. Doors easy: unscrew. Drawers hard: no clue. First try to jiggle drawers off like normal dresser drawers. Fail. Jiggle more. Fail. Jiggle, fail, jiggle, fail, etc. Investigate for several minutes and determine there are strange little bright orange box gadgets under each side of the drawers, along the end of the runner. Squeeze them and try to pull off drawers. Fail. Pull, fail, pull, fail, etc. Experience sudden inspiration after 20 minutes. Squeeze the orange things and lift. Success.
- Mark where all the studs are. Become mesmerized by the sight of Jesse try to find studs in her skull with the electrical stud finder. BEEEEEEP.
- Measure and mark widths and locations for each cabinet and appliance on walls. Realize I didn’t include space for filler strips that will allow me to do important things like open the fridge door. Measure and mark again. Realize I screwed up by mis-measuring one of the appliance widths. Measure and mark again. Realize one of the electrical boxes is in the way of a refrigerator panel because I wanted to push the refrigerator just a tad further away from the wall. Measure and mark again. Leave the kitchen and take blood pressure meds. Ponder how long it’ll take to paint over all those superfluous pencil lines.
- Attach 1×3 strips to walls as bracing to make it easier to install wall cabinets. Realize I’ve placed them too high. Remove and re-attach 2 inches lower. Realize I’ve placed them too low. Remove and re-attach 1 inch higher. Realize I’ve attached the one to support the cabinet over the fridge in the wrong location, so it’ll impede another cabinet I need to install. Remove and re-attach. Find my iPhone and get on Facebook.
- Prepare wall cabinets for installation. Drill holes for electrical lines. Attach wood strips to top to support crown molding. Attach three cabinets that are going side by side together on the floor so we can get them up all at once. Become extremely anxious about what mistakes I’ve made but haven’t discovered yet.
- Install wall cabinets, 15 minutes each, thanks to careful prep. On to floor cabinets.
- Identify the high point on the floor. Try to use the stinking laser line I bought, which I thought was a laser level with some fancy gyroscopic property that would handily shoot a totally level 360 degree ray of red light around the entire room. But no. It just makes a straight red line of light wherever you point it. Toss it aside in a minor rage and stomp out to garage. Use eyeballs to try to find a straight-ish piece of wood. Settle on an eight-foot 2×4. Move it around the room randomly and stack a long level on top of it to determine that the highest point in the whole kitchen is exactly where my body already told me it was. Roll my eyes and grumble about useless tools.
- Use that stupid laser line device after all, to shoot a straight line along the front edge of each cabinet run, which takes all the mystery out of lining up 12 to 16 linear feet of cabinets and appliances and saves me from getting covered with blue chalk from the snap line. Mark that laser line on each side of the kitchen with a big black marker. Super, super awesome laser tool. Best laser line ever. Pink puffy hearts for the laser line.
- Cut strips of 3/4″ plywood and install them as permanent supports for base cabinets, so that when the hardwood floors are installed the cabinets won’t be weirdly low. Start at the high point in the room. Use levels, shims, and random strips of wood to painstakingly create a level strip of plywood running around the wall perimeter of the kitchen, and a second strip 21″ in from the walls, along the laser lines I marked. Super, super fun. NOT.
- Install base cabinets. It starts out really great but gets a little loose around the refrigerator build-out. But it works out. Pretty much. I think the refrigerator will fit. No one will notice that thing that went wrong. I hope.
Then we had to put on crown molding and trim. Short version:
- Dick around with how to set crown molding into compound miter saw. Trash about 6 feet of crown molding before we figure it out. Damn.
- Cut and install crown molding. Every joint is messed up. Stare up at ceiling with stink eye for a long time.
- Suddenly remember the tube of colored wood putty that’s been hanging around in the basement. Retrieve. Apply. Crown molding joints look perfect.
- There’s a raw wood gap between the crown and cabinet top, because we decided to push crown all the way to ceiling. Suuuuuck. Remember coloring pen that came with cabinets, to hide dinks. Color the gap. It still looks ugly. I have some wood veneer lying around. Cut it, apply it with contact cement. We used to call it rubber cement, and it is still as nasty as I remember it from my childhood. Color the veneer. Not ugly anymore.
- Try to cut thin pieces of trim with the miter saw. After cracking out about 8 feet of trim and almost taking my finger off from a shard of wood, recall that thin trim doesn’t work on a humongous power miter saw because it vibrates too much. Rush to Home Depot (ugh) for a little plastic hand miter box and saw.
- Apply trim to trim and then to trim, all over the cabinets, and then caulk ugly spaces with wood putty. Trim makes everything better.
How many tools did it take?
Power: drills and many bits; circular saw; miter saw; jigsaw; belt sander; finish nailer; pancake compressor. If I had a table saw, I would have used it too. I could find no use for the biscuit joiner, which is disappointing.
Manual: No way can I list all that. The whole toolbox. Everything. I used everything.
But I think things turned out okay.
Before:
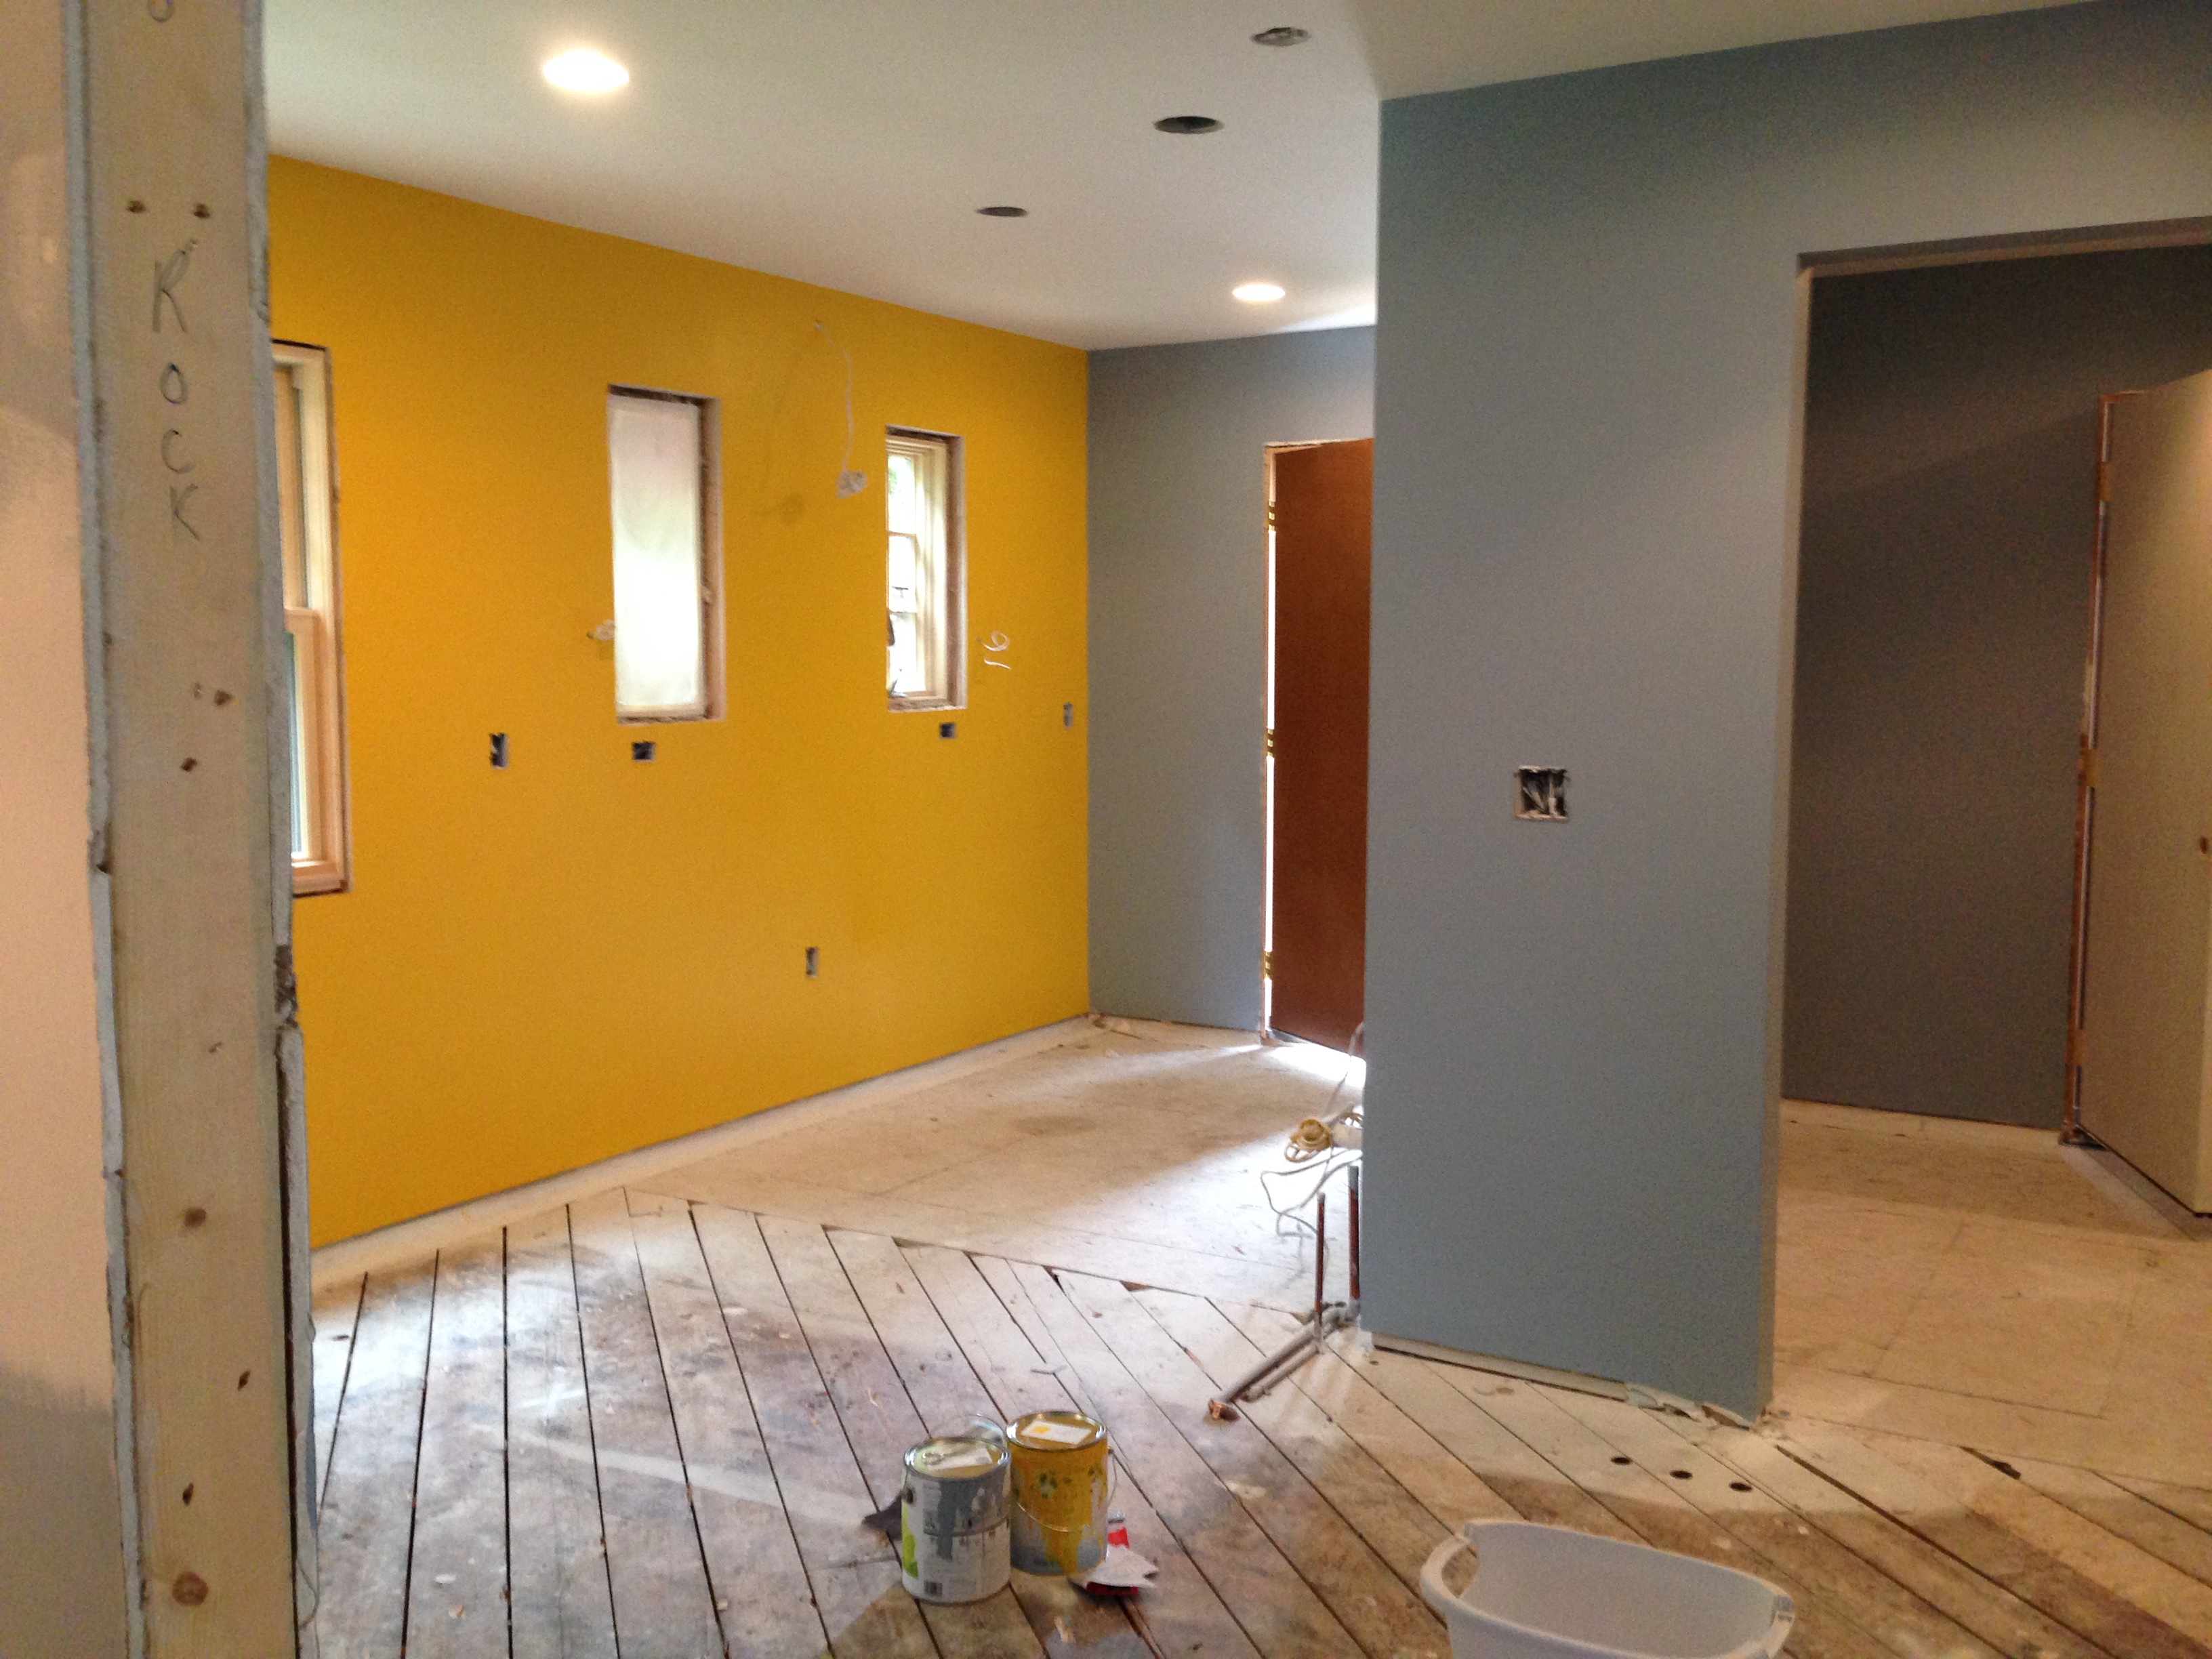
Progress:


After:


Pretty cool.

OMG. You are a total home improvement badass. Impressive.